Goat milk soap is one of the most popular natural soaps. As a natural soap, it does not strip the skin of moisture. The soft creamy texture is also more soothing for the skin. Goat milk contains skin-nourishing nutrients that allow its soap to nourish the skin from within even as it is used to cleanse it.
Although it is safe for use, in some rare cases, it can trigger related food allergies. An article published on the American Academy of Allergy Asthma and Immunology warned against the use of animal milk-based moisturizers on damaged skin as it could cause sensitization towards that particular milk product. It quoted an incident reported in The Journal of Allergy and Clinical Immunology: In Practice, where a woman showed severe anaphylaxis reaction on eating a salad containing goat cheese. It was later found that she had a goat milk moisturizer on damaged skin. Serum testing later revealed that the goat milk absorbed through her skin triggered her allergic reaction to the goat cheese. Hence, you must take care when using goat milk-based skin products like soaps. [1] [2]
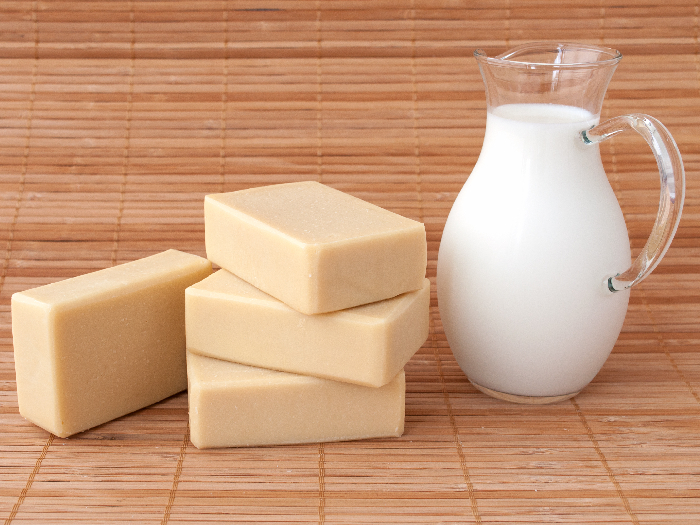
Goat milk soap helps maintain skin moisture. Photo Credit: Shutterstock
How To Make Goat Milk Soap?
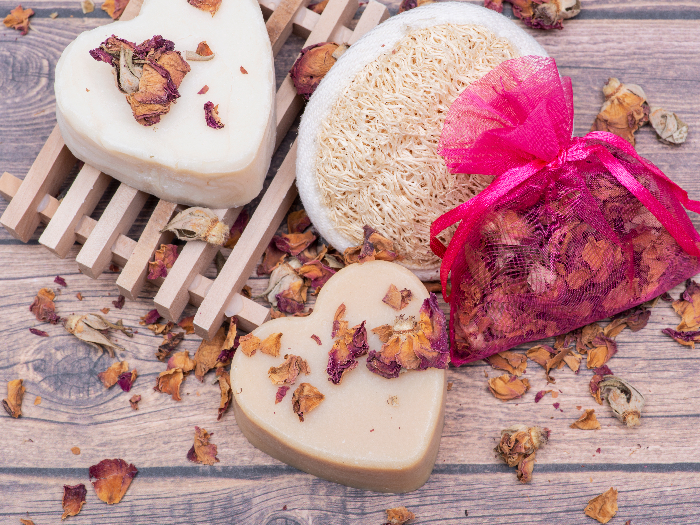
Goat milk soap is quite easily available in supermarkets. But most of them contain chemicals that take away from the natural benefits of the soap. It’s better to make the soap at home. We use a cold process to make the soap. Be careful when adding lye as it can scorch the milk. You can add essential oils for fragrance and flower petals to give your soap a visual appeal.
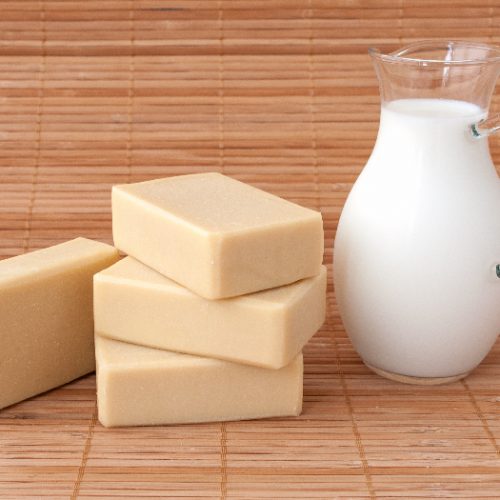
Easy Goat Milk Soap Recipe
Ingredients
- 13 oz goat milk
- 15 oz olive oil pomace
- 1 oz apricot oil
- 12 oz coconut oil
- 13 oz palm oil
- 6 oz sodium hydroxide or lye
- Additives like essential oils or flowers optional
Instructions
- The day before you make the soap put the milk in the freezer. For this recipe, the milk must be frozen and not chilled. You can put the milk in an ice tray for easy-to-use milk cubes. Frozen milk is likely to get scorched when the lye is added.
- Take out the frozen milk cubes in a large glass bowl and put this in a larger bowl that is filled half-way with ice-cubes. This will keep the milk cubes cold even as you work with them.
- Add 1/4 of the lye flakes to the bowl with the milk cubes. Use a wooden spoon to break the frozen milk, while mixing in the lye. Once you are sure that the lye is completely mixed, add another 1/4 of the lye and mix it in the same manner. As the cubes melt, you can add the rest of the lye and mix it in.
- As you mix in the lye, the color will turn orangish to light brown. This is the result of the sugars and proteins in the milk reacting with the lye. However, it should not turn dark brown. This means that the milk is scorched and you will have to start all over again.
- Keep this milk and lye mix in the ice bowl while you get your oil ready. For this, just combine all the oils and heat it over a gentle flame until it is around 115°F.
- Add the oils to the milk and mix it in with a wooden spoon in the beginning. Then use a stick blender to blend this mix. The mix will start to thicken at this point. You can also add a few drops of essential oils or flower petals at this time.
- Pour this mix into the mold and let it set for at least 24 hours. You can now cut out the soap bars.
- Now you have to cure the soap bars. Keep the soap exposed to the air for about a month, turning it over after every few days so that all sides are exposed to the air. Use a pH strip to check whether the soap is cured. The pH balance should be around 8-10.

Goat milk soap ages beautifully and will easily last for months. It will, however, shrink slightly and ‘sweat’ as it loses moisture. You may see small beads of water appearing on top. This is perfectly normal. This homemade soap also makes a perfect gift. Put the bar in butter paper and wrap this up with handmade paper for pretty packaging.
